When the job is sealing, not removal
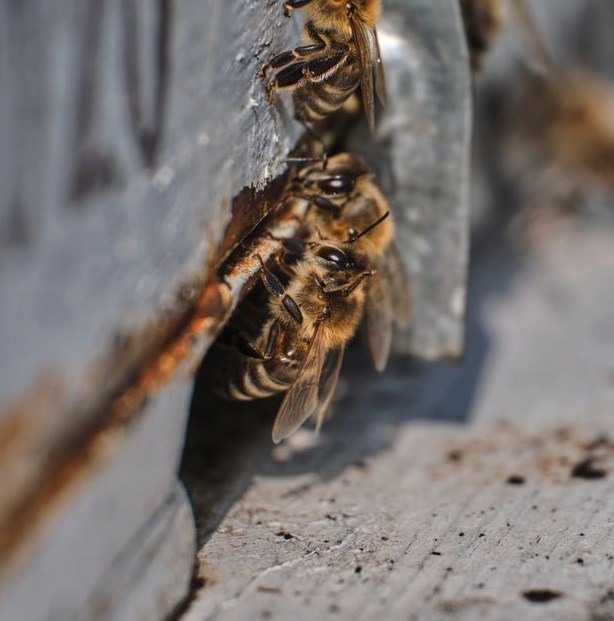
The first thing we sort out is whether you're describing bees or an opening. If you're watching bees land and go in at the same spot, one after another, a colony is living in there. That's a removal first, and sealing comes after. Closing a live entrance leaves the bees inside looking for another way out.
Most sealing calls are the stage before that. A bee or two is nosing around a gap under the eave, at a loose panel joint, or where a pipe or wire comes through the wall, and nothing has moved in. In West Palm Beach's long hot season, bees are out working for most of the year, so an open gap doesn't stay unnoticed for long. The best time to close it is before there's traffic at it.
We also seal right after a removal, once the cavity has been emptied and cleaned, so the next swarm finds the doorway shut.
We walk the whole house before we seal anything
We start by walking every side of the exterior and listing each opening a bee could use: cracks and crevices, gaps where two materials meet and don't quite close, torn or loose vent screens, and holes around pipes and utility lines. We note how high each one is, because a gap at eye level takes a minute and the same gap up under a second-story eave means a ladder and more time. That's why we look at the whole house instead of quoting from a photo of one corner.
The walk is also where we decide what each opening needs. Some get closed for good. Others, like vents, still have to move air, so they get covered rather than plugged. Filling a vent shut to stop bees just creates a different problem.
What we put in the gap, and what we cover
Cracks and crevices that should simply be closed get caulk. Where the gap is in wood and filler is the better material, we use wood filler. Where it's in masonry or concrete, we use a concrete patch. Matching the material to what it's going into is most of what makes a seal last.
Openings that have to stay open get covered with mesh. We use 1/8-inch hardware cloth where the cover needs to be rigid and hold up, and fine insect screen where the job is keeping small insects out.
When we're done, we go back over the list from the walk and check every opening to confirm the coverage we planned is what got installed. If there's anything we noted and didn't close, we tell you which one and why.
What it costs and how long it takes
Standalone bee proofing, meaning preventive entry-point sealing on a house with no active colony, runs $200 to $600. We can give you a sense of where your house likely falls in that range on the phone, and we confirm the exact number once we've walked it.
The same three things drive both the price and the time on site. First is how many openings there are and how spread out they are: five gaps on one wall is a short visit, twenty gaps around all four sides is a long one. Second is height, since anything needing a ladder takes longer. Third is material: a job that's mostly caulk goes quickly, while several vents that need hardware cloth or screen cut and fitted take more time.
If the walk turns up an active colony, it becomes a removal job with the sealing done afterward, and we'll tell you that before any work starts.
Getting Started Is Simple
For work like this, the job breaks down like this:
- Review the identified openings after sealing to confirm the planned proofing coverage is complete.
- Walk the full exterior and inspect rooflines, eaves, soffits, vents, utility penetrations, and places with previous bee activity.
Other Services We Offer
Straightforward Pricing
A few minutes on the phone covers most of it, you'll get an honest answer.